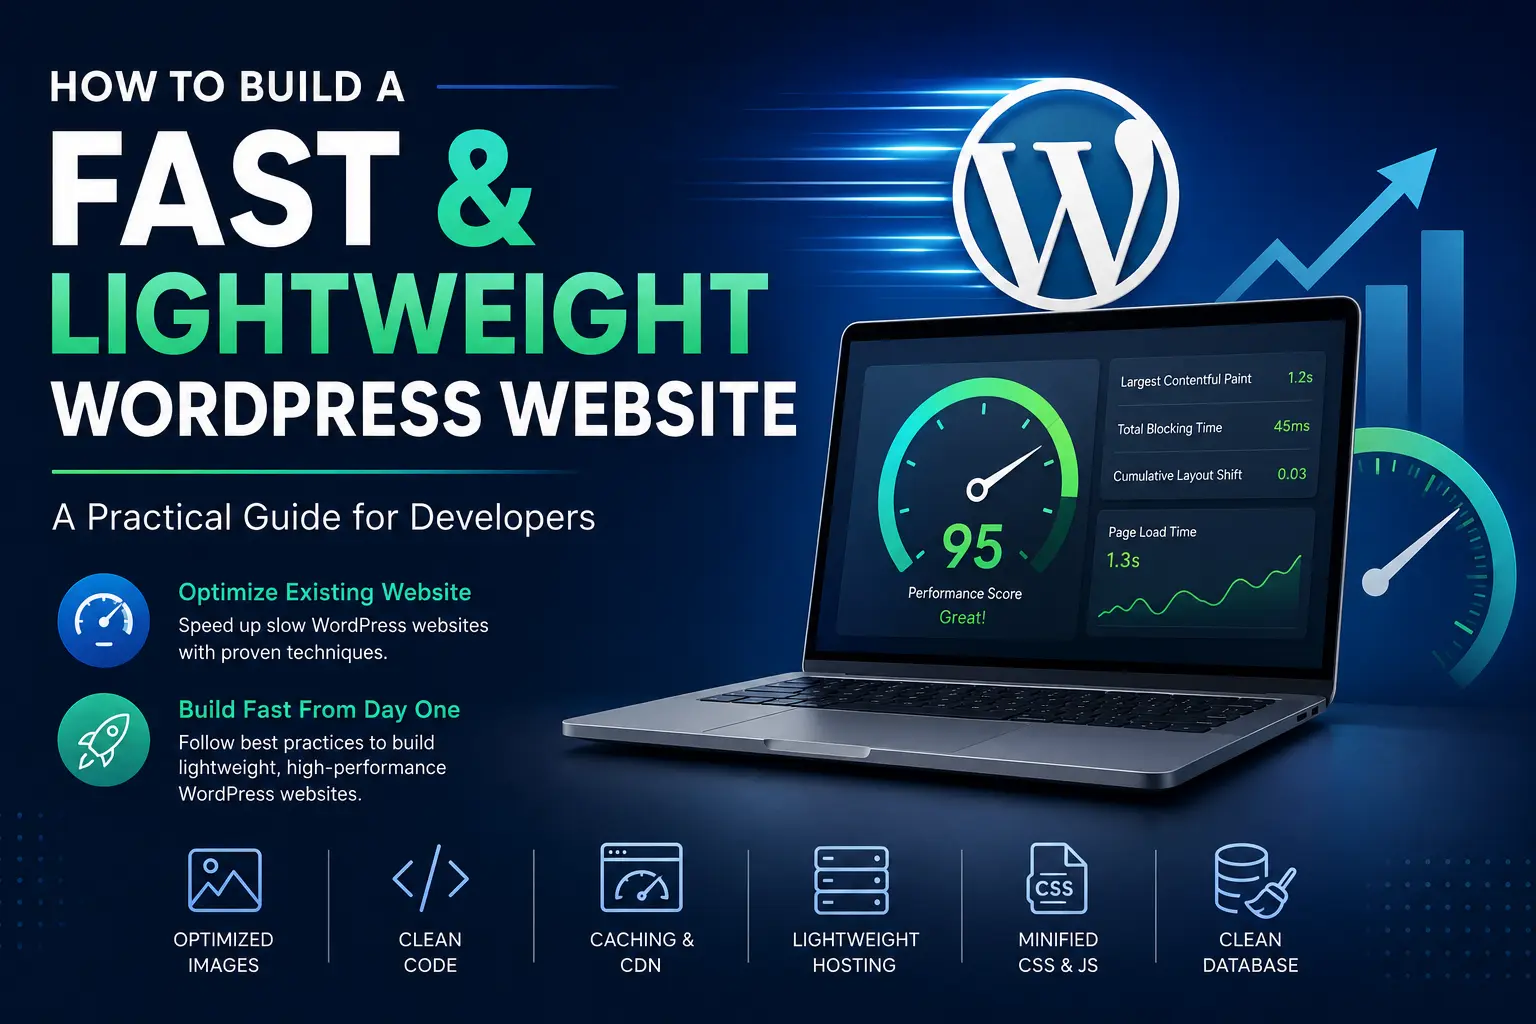
Website speed is no longer just a nice-to-have feature. A slow website can create a poor user experience, increase bounce rates, reduce conversions, and make it harder for users to interact with your website.
As a WordPress developer, you may work on two different types of projects:
- An existing WordPress website that is already slow
- A new WordPress website that you are building from scratch
The approach is different for both. When an existing website is slow, you first need to find what is causing the problem and then optimize it. When building a new website, you have a much better opportunity: you can make performance a part of the development process from the beginning.
In this guide, we will cover both approaches.
You will learn:
- What makes a WordPress website slow
- How to optimize an existing WordPress website
- How to build a lightweight WordPress website from the beginning
- How plugins affect performance
- How to optimize images
- How to handle CSS and JavaScript
- How caching helps
- How hosting affects performance
- How to optimize Elementor websites
- How to reduce unnecessary requests
- How to test website performance
- A practical WordPress performance checklist
What Makes a WordPress Website Slow?
Before optimizing a website, you need to understand what can make it slow. There is usually not one single reason.
A slow WordPress website can be caused by a combination of:
- Poor hosting
- Too many plugins
- Heavy themes
- Large images
- Unoptimized CSS
- Too much JavaScript
- Third-party scripts
- Poor caching
- Too many database queries
- Unoptimized database
- External fonts
- Sliders and animations
- Poorly developed plugins
- Heavy page builders
- Large DOM size
- Too many HTTP requests
This is why installing a caching plugin and expecting the website to become extremely fast is not always enough.
Performance optimization starts with finding the actual problem.
First Rule: Measure Before You Optimize
One of the most common mistakes developers make is changing random settings without measuring the website first.
Before making changes, test the website.
You can use tools such as:
- Google PageSpeed Insights
- Lighthouse
- GTmetrix
- Chrome DevTools
- WebPageTest
Don’t look only at the final performance score.
Look at the actual problems reported by the tools.
For example:
- Largest Contentful Paint
- Cumulative Layout Shift
- Interaction to Next Paint
- Total Blocking Time
- Render-blocking resources
- Unused CSS
- Unused JavaScript
- Image optimization
- Server response time
The score is useful, but the diagnostics tell you what needs to be fixed.
Part 1: How to Optimize an Existing WordPress Website
If you receive an existing WordPress website that is slow, don’t immediately start deleting plugins or changing the theme.
First, understand the website.
Step 1: Understand the Existing Website
Before optimization, check:
WordPress
- WordPress version
- Active theme
- Child theme
- Page builder
- Number of plugins
- WooCommerce
- Custom code
- Custom post types
Hosting
Check:
- Hosting provider
- Server resources
- PHP version
- PHP memory limit
- Database server
- Server response time
- Available CPU/RAM if you have access
Website
Check:
- Number of pages
- Homepage size
- Number of images
- Videos
- Sliders
- Forms
- Third-party scripts
- Fonts
- Analytics
- Chat widgets
- Marketing scripts
This gives you a complete picture before you start optimization.
Step 2: Find the Biggest Problems First
Don’t try to fix 50 small problems before fixing the biggest one.
For example, suppose a homepage loads:
5 MB of images
and has:
3 MB of JavaScript
There is little benefit in spending hours fixing a tiny CSS warning first.
Start with the biggest performance problems.
A good optimization order is:
Hosting → Images → Plugins → CSS/JS → Fonts → Third-party scripts → Caching → Database → Small optimizations
The exact order can change depending on the website.
Step 3: Check Your Hosting
A website can have excellent code and still be slow if the server is slow or overloaded.
Check the server response time.
If the server takes a long time before sending the first response, frontend optimization alone may not solve the problem.
Possible causes include:
- Low server resources
- Shared hosting overload
- Slow database
- Poor server configuration
- Too many PHP processes
- Plugin-related backend processing
Before spending hours optimizing frontend assets, make sure the hosting environment is suitable for the website.
Step 4: Remove Unnecessary Plugins
Plugins are one of the most common areas to review in WordPress.
But remember:
The number of plugins alone does not determine website speed.
A lightweight plugin can have very little impact, while one poorly developed plugin can create a significant performance problem.
Instead of asking:
“How many plugins are installed?”
ask:
“What does each plugin do, and what resources does it load?”
Review every plugin.
Ask:
- Is it actually being used?
- Is it necessary?
- Does another plugin already provide the same feature?
- Does it load CSS or JavaScript on every page?
- Does it add database queries?
- Is there a lighter alternative?
- Can the feature be implemented with simple custom code?
Remove plugins that are not required.
Step 5: Optimize Images
Images are often one of the biggest contributors to page size.
A website may look simple but still download several megabytes of images.
Before uploading an image, ask:
Does the website actually need an image this large?
For example, if an image is displayed at around 600px wide, uploading a 4000px image is usually unnecessary.
Use appropriately sized images.
Also consider modern image formats such as:
- WebP
- AVIF
And make sure images are compressed properly.
Don’t Upload Huge Images Directly From Your Camera
A common mistake is:
Camera → Upload original image → WordPress
A modern camera or phone can produce very large images.
Instead:
Original image → Resize → Compress → Convert → Upload
This can significantly reduce the amount of data the browser needs to download.
Step 6: Use Responsive Images
A desktop user may have a large screen.
A mobile user does not need the same large image.
WordPress already provides responsive image functionality in many normal image scenarios.
As a developer, make sure your implementation does not unnecessarily force large desktop images onto mobile devices.
The goal is simple:
Send the browser an image that is appropriate for the device and display size.
Step 7: Lazy Load Images
Not every image needs to load immediately.
If an image is far below the first screen, loading it immediately can waste bandwidth.
Lazy loading allows suitable images to load when they are closer to being needed.
However, don’t blindly lazy-load everything.
The main above-the-fold image, especially the image that contributes to your Largest Contentful Paint, may need to load quickly.
So the rule is:
Lazy-load images that are below the fold, but prioritize important above-the-fold content.
Step 8: Be Careful With Videos
Videos can be extremely heavy.
Avoid placing large self-hosted videos directly on the homepage unless there is a good reason.
Instead, consider:
- Optimized video formats
- Proper compression
- Poster images
- Lazy loading
- External video hosting where appropriate
A background video may look beautiful, but it can have a major performance cost.
Always ask:
Does this video improve the business goal enough to justify its performance cost?
Step 9: Optimize CSS
CSS is another important part of performance.
Large websites can contain:
- Theme CSS
- Page builder CSS
- Plugin CSS
- Custom CSS
- Third-party CSS
Some of it may not be needed on every page.
For example:
A contact form plugin may load its CSS on every page even though the form exists only on the Contact page.
If possible, load assets only where they are required.
Load Assets Only When They Are Needed
This is a powerful concept for WordPress developers.
Instead of:
Every page → Load everything
try to achieve:
Page A → Load Page A assets
Page B → Load Page B assets
Contact Page → Load contact form assets
Shop Page → Load shop assets
This can reduce unnecessary network requests and page weight.
Step 10: Optimize JavaScript
JavaScript can affect both loading and user interaction.
Review:
- Theme JavaScript
- Plugin JavaScript
- Page builder JavaScript
- Tracking scripts
- Analytics
- Chat widgets
- Marketing scripts
- Slider scripts
Ask:
Does this script need to load immediately?
If not, consider:
- Defer
- Delay
- Conditional loading
- Removing unnecessary scripts
But don’t apply these settings blindly.
Some scripts depend on other scripts.
After optimization, always test:
- Menus
- Forms
- Sliders
- Popups
- Checkout
- Login
- AJAX functionality
- Interactive elements
A faster website is not useful if important functionality stops working.
Step 11: Reduce Third-Party Scripts
Third-party scripts are often overlooked.
Examples include:
- Google Analytics
- Facebook Pixel
- Chat widgets
- Marketing tools
- Maps
- Social media embeds
- Advertising scripts
- Heatmap tools
Each external service can introduce additional network requests and JavaScript execution.
Before adding a third-party tool, ask:
Do we really need this?
If yes, load it in the least disruptive way possible.
Step 12: Optimize Fonts
Fonts can also affect performance.
A website may load:
- Multiple font families
- Multiple font weights
- Multiple font styles
For example:
Regular + Medium + Semi Bold + Bold + Extra Bold
across several font families can create unnecessary requests.
Use only the font weights you actually need.
Also consider self-hosting fonts when appropriate and using efficient font loading strategies.
Step 13: Use Caching
Caching is one of the most important WordPress performance techniques.
Without caching, WordPress may need to generate the page dynamically for every request.
With page caching, a previously generated version can often be served much faster.
There are different types of caching:
Page Cache
Stores generated HTML pages.
Browser Cache
Allows the browser to reuse resources it already downloaded.
Object Cache
Can reduce repeated database operations in suitable environments.
Server-Level Cache
Some hosting platforms provide caching at the server level.
A good caching setup can significantly improve performance.
But remember:
Caching does not fix a poorly built website.
It can make the website faster, but it doesn’t remove unnecessary images, JavaScript, plugins, or bad code.
Step 14: Use a CDN When Appropriate
A Content Delivery Network can serve static assets from locations closer to users.
This can be useful when your website has visitors from different geographic regions.
A CDN can help deliver:
- Images
- CSS
- JavaScript
- Fonts
- Other static files
But again, a CDN is not a replacement for optimization.
A 10 MB page is still a 10 MB page even if it is delivered through a CDN.
Optimize first. Distribute efficiently second.
Step 15: Clean the WordPress Database
Over time, WordPress databases can contain unnecessary data.
Depending on the website, this may include:
- Post revisions
- Transients
- Spam comments
- Trash
- Unused metadata
- Plugin-generated data
Database cleanup can help, but be careful.
Always take a backup before making database changes.
And don’t delete database tables simply because a plugin is no longer active.
Some plugins leave data behind, but deleting the wrong data can break the website.
Part 2: How to Build a Fast WordPress Website From Day One
Optimizing an existing website is useful.
But building a lightweight website from the beginning is even better.
Instead of creating a heavy website and optimizing it later, make performance part of your development process.
Step 1: Start With a Performance-Friendly Architecture
Before designing the website, decide:
- What theme will you use?
- Do you need a page builder?
- Which plugins are actually required?
- What type of website are you building?
- What content will be displayed?
- What integrations are required?
Don’t install plugins just because they might be useful later.
Start with the actual requirements.
Step 2: Choose a Lightweight Theme
Your theme is the foundation of your website.
A theme should not load unnecessary:
- CSS
- JavaScript
- Fonts
- Animations
- Libraries
- Widgets
Choose a theme that matches your development approach.
If you’re building a custom WordPress website, you may want a lightweight custom theme or a lightweight base theme.
The goal is not simply:
“Which theme has the most features?”
Instead ask:
“Which theme gives me what I need without loading what I don’t need?”
Step 3: Don’t Install Plugins for Everything
One of the biggest mistakes in WordPress development is solving every small requirement with a plugin.
For example:
Need a simple text change?
Install a plugin.
Need one small CSS feature?
Install a plugin.
Need a simple redirect?
Install a plugin.
Need a small custom field?
Install another plugin.
Soon the website has dozens of plugins.
Before installing a plugin, ask:
Can this be safely implemented with existing WordPress functionality or a small amount of custom code?
If yes, a plugin may not be necessary.
But don’t turn everything into custom code either.
Plugins are useful when they provide reliable functionality that would otherwise require significant development and maintenance.
The goal is not zero plugins.
The goal is only the plugins you actually need.
Step 4: Keep the Design Simple
A beautiful website does not need dozens of animations.
Avoid adding:
- Too many sliders
- Heavy background videos
- Large animation libraries
- Unnecessary parallax effects
- Multiple popup systems
- Excessive hover effects
Every visual effect has a performance cost.
Good design is not about adding more.
It is about using the right elements in the right places.
Step 5: Design for Performance
Performance should be considered during design.
For example, if your designer creates a homepage with:
- 8 large images
- Video background
- 3 sliders
- Multiple animations
- 6 font weights
- Several third-party widgets
the developer will have a difficult job making the page fast.
Instead, designers and developers should work together.
Ask:
Can we create the same visual experience with fewer resources?
Often the answer is yes.
Step 6: Keep the DOM Reasonable
Page builders can sometimes create large HTML structures.
Instead of creating:
Container → Container → Container → Inner Container → Widget → Inner Widget
for every small element, use a clean structure where possible.
A simpler DOM can make the page easier to maintain and can reduce unnecessary complexity.
This is especially important for large Elementor websites.
Step 7: Don’t Use a Slider Just Because You Can
Sliders are common in WordPress websites.
But many websites don’t actually need them.
A static hero section can often be:
- Faster
- Easier to maintain
- Easier to make responsive
- Better for accessibility
- Easier to optimize
Before adding a slider, ask:
Does the slider actually improve the user experience or conversion rate?
If not, a static section may be better.
Step 8: Build Mobile Performance From the Beginning
Don’t build the desktop version first and think about mobile later.
A large desktop image, complex animation, or unnecessary component may not make sense on mobile.
Test your design on:
- Desktop
- Tablet
- Mobile
Think about:
- Image sizes
- Layout
- Font sizes
- Spacing
- Navigation
- JavaScript
- Animations
A website should be optimized for real users, not just desktop screenshots.
Step 9: Keep Your Homepage Lightweight
The homepage is often the most important page.
It should not contain everything.
You don’t need:
- Every blog post
- Every portfolio project
- Every service
- Every animation
- Every testimonial
- Every integration
Show the important content and link to deeper pages.
For example:
Homepage
→ 3 latest blogs
→ 3 featured projects
→ Main services
→ Short About section
→ Testimonials
→ Contact CTA
Then users can visit the dedicated pages for more content.
This keeps the homepage focused and easier to optimize.
Elementor Websites: How to Keep Them Fast
If you’re using Elementor, performance needs extra attention.
Elementor can help you build websites quickly, but the final performance depends heavily on how you use it.
Keep these points in mind:
- Avoid unnecessary nested containers
- Avoid excessive widgets
- Don’t use huge images
- Limit animations
- Avoid unnecessary sliders
- Load fonts efficiently
- Remove unused plugins
- Avoid adding multiple addons for the same purpose
- Keep custom CSS clean
- Keep JavaScript to a minimum
- Optimize mobile layouts separately
Elementor itself should not automatically be considered the reason for a slow website.
The entire stack matters:
Hosting + Theme + Elementor + Plugins + Images + CSS + JS + Third-Party Scripts
Don’t Install Multiple Optimization Plugins Without Understanding Them
Another common mistake is installing several performance plugins together.
For example:
Caching Plugin A
Caching Plugin B
Optimization Plugin C
Asset Optimization Plugin D
This can create conflicts.
Instead, understand what each tool is doing.
You should know:
- Which plugin handles page cache
- Which handles image optimization
- Which handles CSS
- Which handles JavaScript
- Which handles CDN
- Which handles database cleanup
Then avoid overlapping features wherever possible.
What About CSS and JavaScript Minification?
Minification removes unnecessary characters such as:
- Whitespace
- Comments
- Some formatting
This can reduce file size.
It can help, but minification alone will not magically make a slow website fast.
For example:
A 2 MB JavaScript file becoming 1.7 MB is useful.
But removing an unnecessary 2 MB JavaScript library completely can be much more valuable.
So think in this order:
Remove unnecessary assets → Reduce assets → Optimize delivery
What About Combining CSS and JavaScript?
Older optimization strategies often focused heavily on combining files.
But modern websites use HTTP/2 and HTTP/3, so blindly combining every CSS or JavaScript file is not always the best solution.
Don’t enable optimization settings simply because a tutorial says:
“Turn everything ON.”
Test the website and understand the result.
Performance optimization should be evidence-based, not checkbox-based.
How to Test Your Website After Optimization
After making changes, test again.
Don’t rely only on one tool.
Check:
PageSpeed Insights
Useful for understanding Core Web Vitals and Lighthouse-related diagnostics.
GTmetrix
Useful for waterfall analysis and identifying which resources take time.
Chrome DevTools
Useful for:
- Network requests
- JavaScript
- CSS
- Performance
- Console errors
Real Devices
Always test the actual website on mobile and desktop.
A website can look perfect in a performance report and still feel slow on a real device.
Don’t Optimize Only for a Score
A developer may become obsessed with getting:
100 / 100
But the real goal is not the number.
The real goal is:
Make the website fast, stable, usable, and reliable for real users.
A website with a slightly lower score can sometimes provide a better real-world experience than a website that has been optimized only to achieve a perfect laboratory score.
Focus on:
- Fast loading
- Good interaction
- Stable layout
- Optimized images
- Clean code
- Reliable functionality
- Good user experience
A Practical Workflow for Developers
Here is a workflow you can use on almost every WordPress performance project.
For an Existing Website
1. Backup the website
↓
2. Run performance tests
↓
3. Check hosting/server
↓
4. Identify the biggest bottlenecks
↓
5. Optimize images
↓
6. Remove unnecessary plugins
↓
7. Check CSS and JavaScript
↓
8. Reduce third-party scripts
↓
9. Optimize fonts
↓
10. Configure caching
↓
11. Optimize database where required
↓
12. Test again
↓
13. Check website functionality
↓
14. Test on real mobile devices
For a New Website
Start with:
Lightweight architecture
↓
Minimal theme
↓
Required plugins only
↓
Optimized images
↓
Clean page structure
↓
Minimal JavaScript
↓
Efficient CSS
↓
Optimized fonts
↓
Caching
↓
Performance testing
↓
Launch
This approach is much better than building a heavy website first and trying to fix everything at the end.
WordPress Performance Checklist
Before launching a website, go through this checklist.
Hosting
- Hosting is suitable for the website
- PHP version is supported and appropriate
- Server response time is reasonable
- Enough resources are available
WordPress
- WordPress is updated
- Theme is optimized
- Unused plugins are removed
- Plugins are updated
- Unused themes are removed
Images
- Images are compressed
- Images are appropriately sized
- WebP/AVIF is considered
- Below-the-fold images are lazy-loaded
- Hero/LCP image is properly prioritized
CSS
- Unnecessary CSS is removed
- CSS is optimized
- Page-specific assets are considered
- Unnecessary libraries are removed
JavaScript
- Unnecessary JS is removed
- Scripts are deferred where appropriate
- Non-critical scripts are delayed where safe
- Third-party scripts are reviewed
Fonts
- Only required fonts are loaded
- Only required weights are loaded
- Font loading is optimized
Plugins
- Every plugin has a purpose
- Duplicate functionality is removed
- Heavy plugins are reviewed
- Plugin assets are loaded only where necessary
Caching
- Page caching is configured
- Browser caching is configured
- Object/server caching is considered where appropriate
- CDN is considered when useful
Testing
- PageSpeed test completed
- Lighthouse test completed
- Network waterfall reviewed
- Mobile tested
- Desktop tested
- Forms tested
- Navigation tested
- No console errors
- Important functionality works correctly
Final Thoughts
Building a fast WordPress website is not about installing one magic performance plugin.
It is about making good decisions at every stage of development.
A fast website starts with:
Good hosting
Lightweight architecture
Optimized images
Clean CSS and JavaScript
Only necessary plugins
Efficient third-party scripts
Proper caching
Regular testing
If you are working on an existing website, don’t randomly change settings. Measure first, identify the biggest problems, fix them, and test again.
If you are building a new website, don’t wait until the website is finished to think about speed.
Build performance into the website from day one.
The best WordPress website is not the one with the most plugins, animations, widgets, or features.
It is the one that provides the right functionality with the least unnecessary work.
Build light. Load less. Test often.
That is how you build a WordPress website that is fast, scalable, and easier to maintain.
SEO Details
SEO Title:
How to Build a Fast & Lightweight WordPress Website
Meta Description:
Learn how to build a fast and lightweight WordPress website from scratch and optimize existing WordPress websites using better images, plugins, CSS, JavaScript, caching, hosting and performance techniques.
URL Slug:
how-to-build-fast-lightweight-wordpress-website
Focus Keyword:
fast WordPress website
Secondary Keywords:
- WordPress speed optimization
- WordPress performance optimization
- how to speed up WordPress website
- WordPress website optimization
- fast WordPress website for developers
- WordPress performance tips
- Elementor performance optimization